what? A BONUS blog post? HURRAY
Hot on the heels of battle cat fever, my sister had shown me some cute felt bunny and cat ears she'd seen online that you clip onto your head. They weren't terribly expensive or anything, between $5-$10, but it seemed like an easy enough project to tackle. (Plus I was working on installing a floor in the basement and my lungs did not approve. Making cat ears was a nice way of getting my lungs to calm the fuck down between rows)
You want those weird clips that when you push them in the middle they go SNAP and then you snap them onto your head. You probably remember them from when you were a tween? Yeah. Try describing those to your boyfriend in the dollar store as you search around for them when he has literally never heard of these clips in his life. And then, when you demonstrate the snap open part he asks you why you're trying to break the clips.
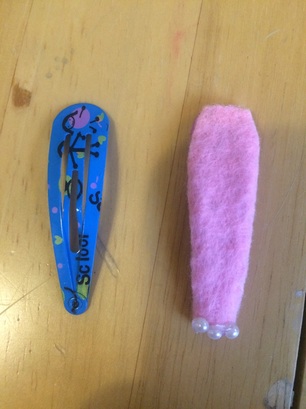
To cover them with felt, just.. hot glue it on. Yeah. That simple. You could do a line of rhinestones all around or cover the whole thing in lace if you want. Ideally, the clip is going to be mostly hidden by your hair so it's not particularly important. Still, it helps to finish the overall look of the project.
Next! Cut 4 rounded triangles of felt. Note: they don't have sharp sides but more of a soft slope? SEE DIAGRAM. 2 sloped sides and a straight side! (There is nowhere to buy felt in our small town. This seems so weird to me as 'felt' seems such a staple for scrapbooking types – which we have in abundance. Maybe there's a secret felt store or something...)
Next! Cut 4 rounded triangles of felt. Note: they don't have sharp sides but more of a soft slope? SEE DIAGRAM. 2 sloped sides and a straight side! (There is nowhere to buy felt in our small town. This seems so weird to me as 'felt' seems such a staple for scrapbooking types – which we have in abundance. Maybe there's a secret felt store or something...)
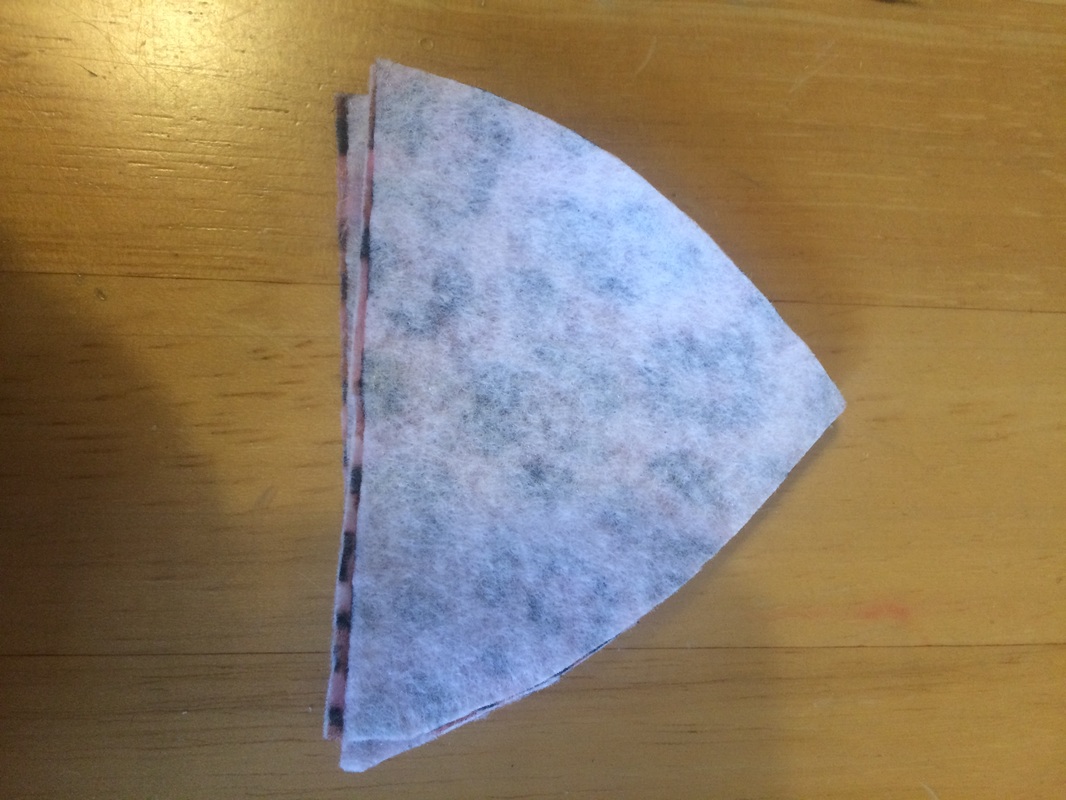
The size of your eventual cat ears is gonna be a bit smaller than these, but it's not an exact science. Do what feels right. If you decide you want GIGANTIC ears I would suggest achoring them to two clips on either side rather than one across the middle. Granted, if you're going that big you could just achor them to a headband.
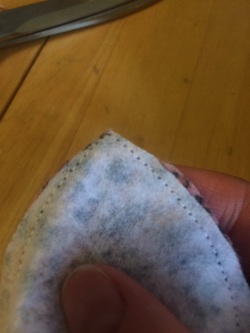
Next! Take one felt ear and fold it in half, with the right sides together. (if you are using a solid color of fabric this doesn't matter) You want to make a small stitch in the straight edge, the part that will eventually be against your head, like so:
Next! Take one felt ear and fold it in half, with the right sides together. (if you are using a solid color of fabric this doesn't matter) You want to make a small stitch in the straight edge, the part that will eventually be against your head, like so:
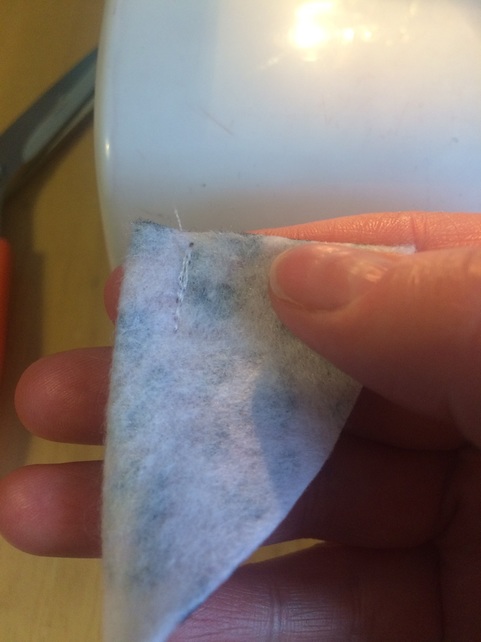
This is the 'dimple' of the cat eat. Repeat on the other ear.
So now you should have 2 pieces of felt with a dimple and 2 pieces that are flat! Got it? Pin one piece with the dimple to the piece without a dimple, right sides together and making sure you're lining up the straight edge.
So now you should have 2 pieces of felt with a dimple and 2 pieces that are flat! Got it? Pin one piece with the dimple to the piece without a dimple, right sides together and making sure you're lining up the straight edge.
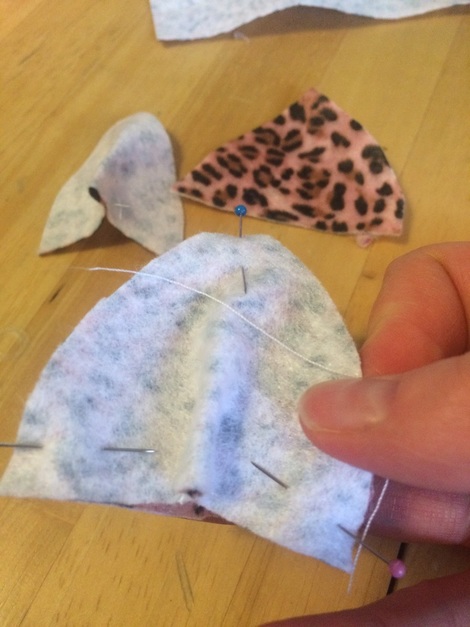
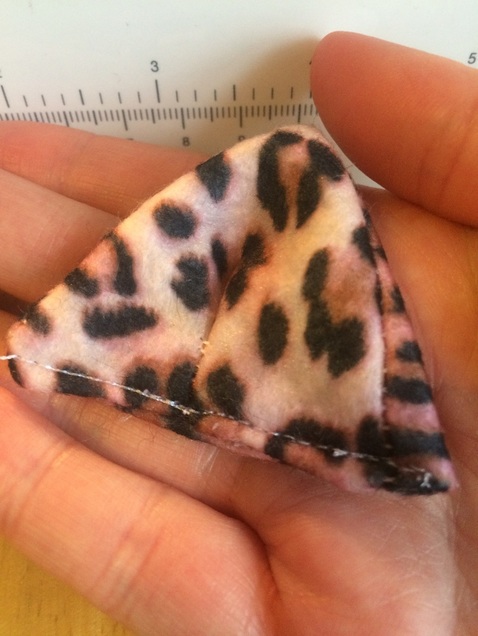
Now you're going to stitch the slighty curved sides, leaving the straight side open. I used a machine but you could hand stitch it? Trim the point close to the stitches. We do this so that when you turn your ears inside out you'll get a point rather than a rounded poof.
Turn the ear inside our and VOILA. YOU HAVE AN EAR!
TIP: when you turn it inside out, use a pin on the right side to gently 'pull' the fabric that's caught in the turned corner out. There are 1 million tips on how to turn out a corner on the internet so go wild. Lots of people use a chopstick.
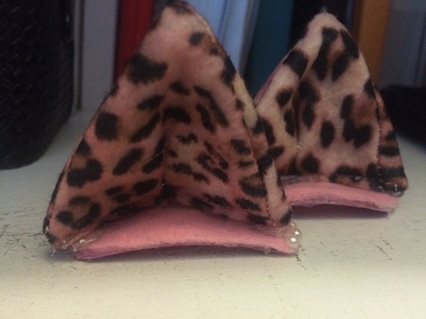
Now is the hardest bit. You need to tuck under your open end and then stitch it together. This can be a bit of a pain in the ass. You could also just do a zigzag stitch along the bottom and call it a day.
TIP: when you turn it inside out, use a pin on the right side to gently 'pull' the fabric that's caught in the turned corner out. There are 1 million tips on how to turn out a corner on the internet so go wild. Lots of people use a chopstick.
Now is the hardest bit. You need to tuck under your open end and then stitch it together. This can be a bit of a pain in the ass. You could also just do a zigzag stitch along the bottom and call it a day.
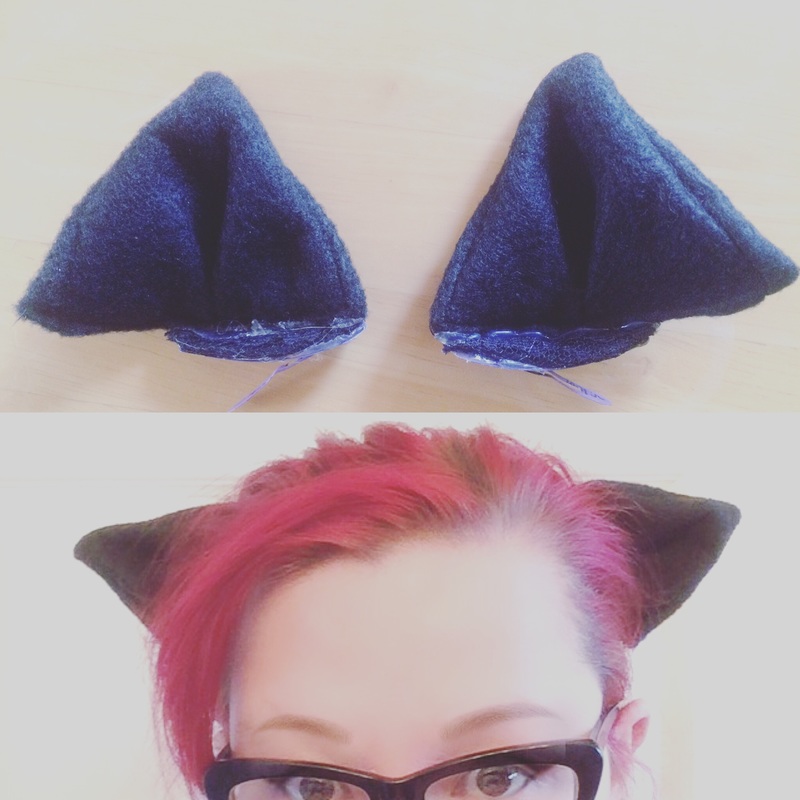
TADA! Now all that's left is to (carefully) hot glue that sucker to your prepared clip! AND VOILA! (You could probably stitch this. I was feeling too lazy and I love hot glue. So.)
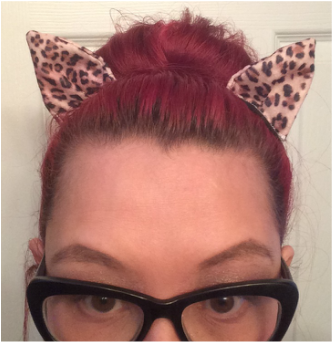
VOILA. Wear them however you like. You could do any animal, I suppose. Pigs might be cute? Or bunny ears. SKY IS THE LIMIT. GO WILD!
 |  |
 RSS Feed
